Showing 1–12 of 37 results
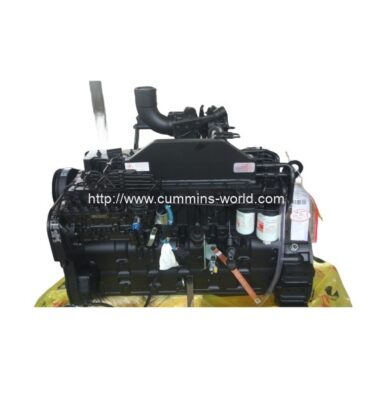
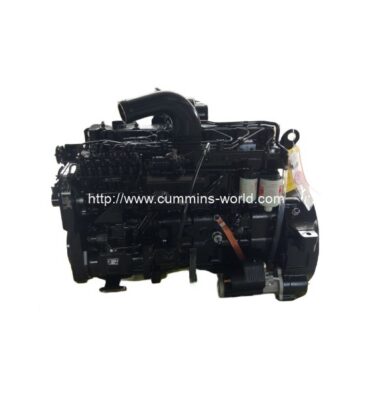
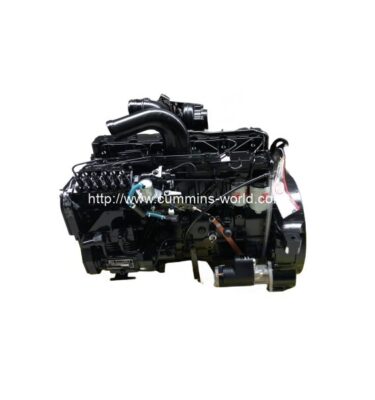
Cummins Engine Assembly: A Complete Guide
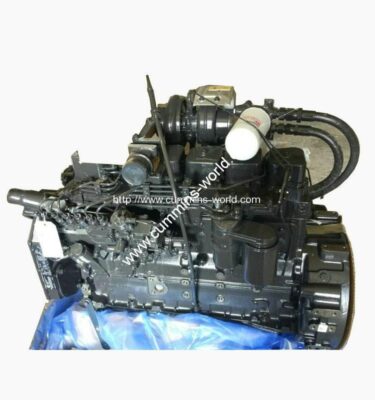
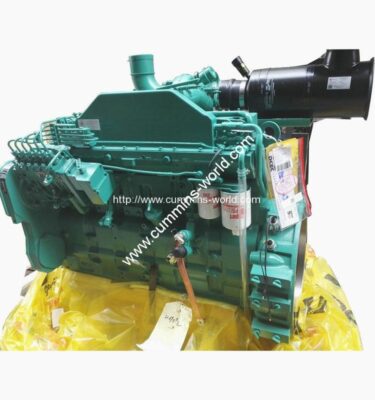
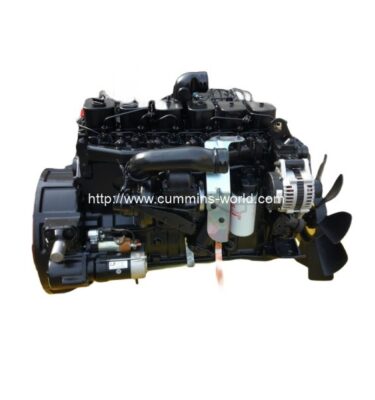
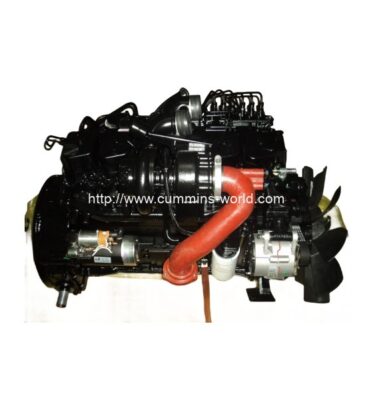
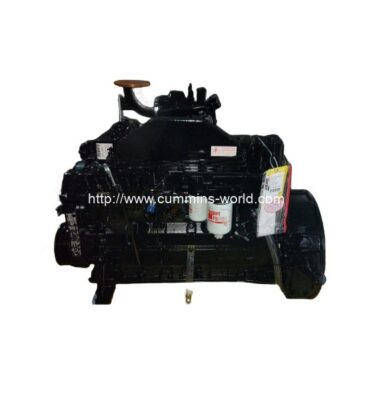
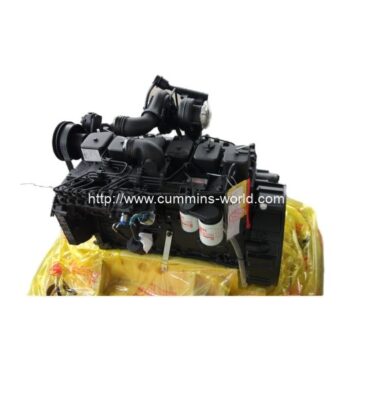
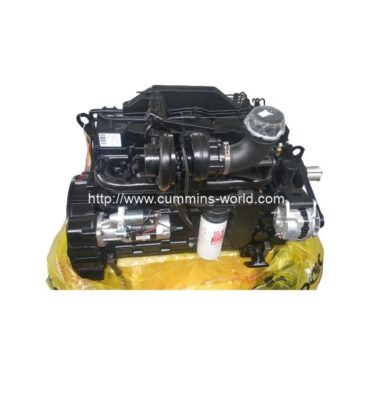
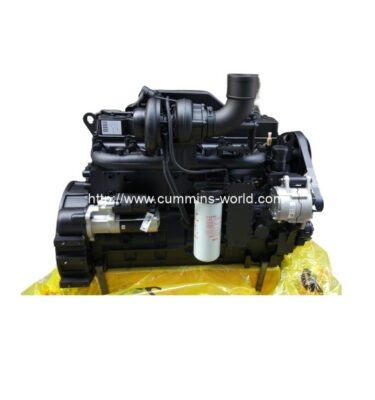
You cannot deny the fact that Cummins engine assembly seems like a daunting task, especially if this is your first time doing it. There are a lot of factors that you need to consider, and assembling a Cummins engine requires a lot of patience in the process. So, to help you get started here is a complete guide to assembling.
- Measuring
First, we start with measuring. Get the exact measurements of the crankshaft main bearing journal diameter using a micrometer. Unlike other measuring tools, it can help you to get more accurate measurements. Just make sure that you’re going to inspect each journal in several locations for better results.
When you’re going to purchase a micrometer, it’s either you could ask for an in-person demo of how to use it from the store where you’ve bought it, or you could watch tutorial videos. It’s empirical that you know how to use it properly otherwise you will not get proper measurements.
While measuring, you should record the measurements of the figures while going around the main bearing journal. For instance, in a typical modern V8, there are approximately five bearing journals that you are required to measure.
- Installing
After measuring, you can proceed to install the main bearings. When it comes to the main bearing cap, you can start by installing in the block and pushing it to the edge of the main bearing bore. This process is repetitive but important until all bolts of the main bearing cap are in place. This will help to ensure that while the engine is in use, the bearing does not rotate by itself. Don’t worry because most Cummins engine numbered their bearing caps to make it easier for the installer. Torquing the cap bolts is highly recommended to ensure that it’s tightly sealed. Just make sure that you’re going to follow the specification of the manufacturer.
- Checking
Next, you can proceed to the checking of clearances. You can now use a dial bore gauge if you don’t have an inside micrometer. Just like the crankshaft, it is important that you’re going to measure the bearings as well. Again, look back into the specifications of your manufacturer for proper guidance for a more appropriate clearance figures.
- Crankshaft installation
The rear main seal could either be a one-piece or two-piece type, it depends on the Cummins engine that you have. Regardless of the format of your rear seal, it must be installed after checking for the clearances. Make sure that the seal on the lips faces is facing towards the engine itself. Using a clean towel, clean the seal groove thoroughly so that the sealant could function properly.
After the crankshaft installation, eventually, you’ll need to check the thrust clearance, rod clearances and use plastigage to finish the installation.
Follow these installation tips to ensure that you can properly assemble your Cummins engine. This will serve as your guide along with the manufacturer’s specification. In that way, you Cummins engine can function properly and avoid rookie mistakes in the process of installing.
-
6BT5.9-C150 Cummins engine assembly
Read More6BT5.9-C150 Cummins engine assembly
-
6CTA8.3-G2 Cummins engine assembly
Read More6CTA8.3-G2 Cummins engine assembly
-
Cummins 4BT3.9-C100 engine assembly
Read MoreCummins 4BT3.9-C100 engine assembly
-
Cummins 6BT170-33 engine assembly
Read MoreCummins 6BT170-33 engine assembly
-
Cummins 6BT210-33 engine assembly
Read MoreCummins 6BT210-33 engine assembly
-
Cummins 6BTA5.9-C150 engine assembly
Read MoreCummins 6BTA5.9-C150 engine assembly
-
Cummins 6BTAA5.9-C160 engine assembly
Read MoreCummins 6BTAA5.9-C160 engine assembly
-
Cummins 6CTA8.3-C195 engine assembly
Read MoreCummins 6CTA8.3-C195 engine assembly
-
Cummins 6CTA8.3-C215 engine assembly
Read MoreCummins 6CTA8.3-C215 engine assembly
-
Cummins 6CTA8.3-C240 engine assembly
Read MoreCummins 6CTA8.3-C240 engine assembly
-
Cummins 6CTA8.3-C245-33 engine assembly
Read MoreCummins 6CTA8.3-C245-33 engine assembly
-
Cummins 6CTA8.3260-33 engine assembly
Read MoreCummins 6CTA8.3260-33 engine assembly

